Showing posts with label tutorial. Show all posts

Saturday, September 10, 2011

Make Your Own "Barefoot" Ballet Flats

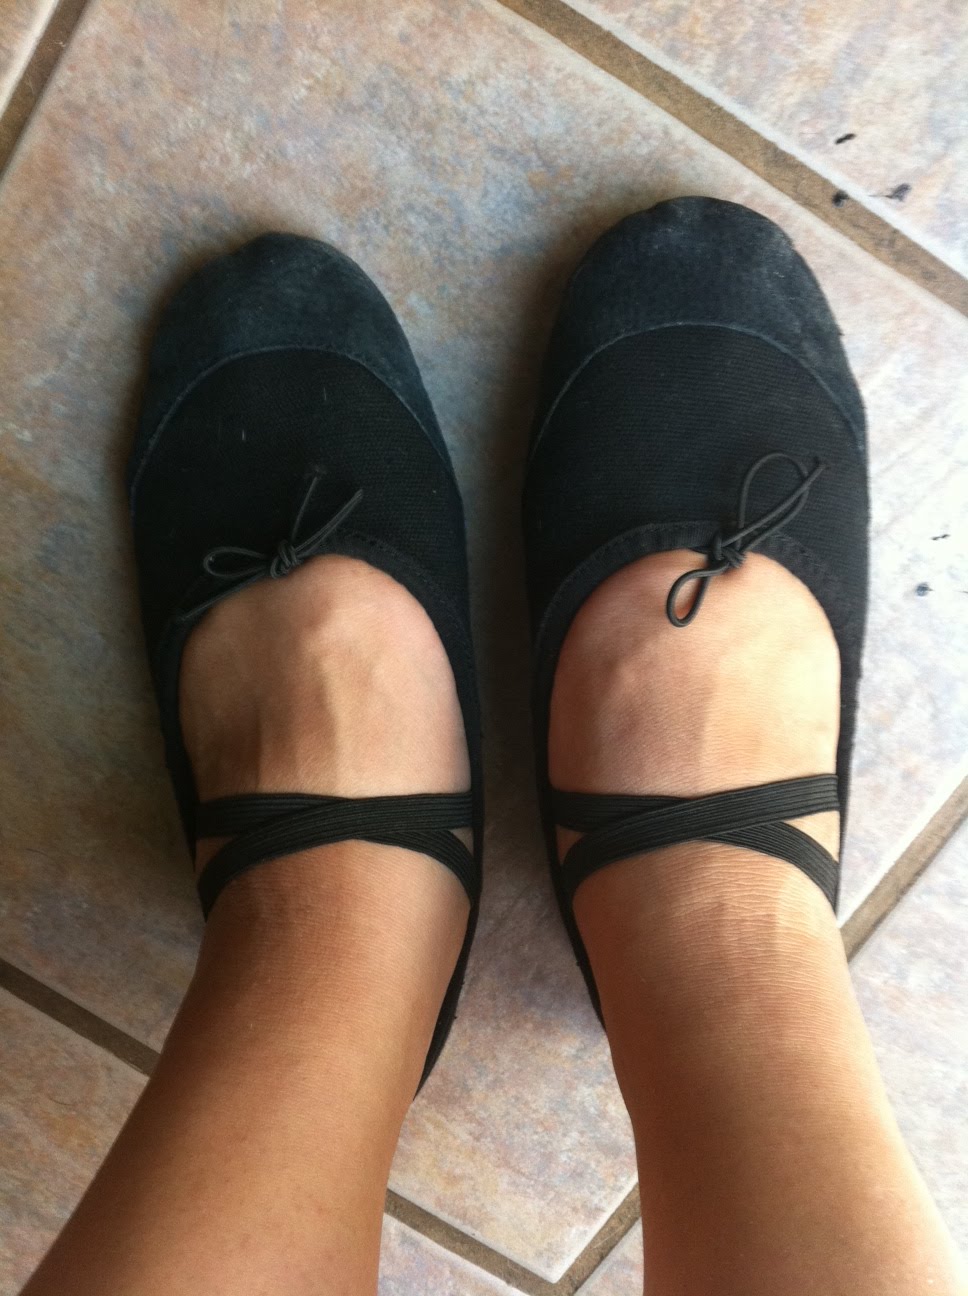
I really love my Merrell barefoot running shoes and was really wishing that I could afford a pair of their mary jane style barefoot shoes to wear with casual outfits. The problem is that they are very expensive and I couldn't justify the expense. So, I got creative and figured out a way to make my own "barefoot" shoes. Here is my tutorial for barefoot ballet flats.


This is the Merrell Pure Glove shoe $89. This is a picture of the pair that I made($15)


Materials:
a pair of super cheap ballet shoes on ebay ($9 including shipping)
a can of plastidip (Home Depot $6)
masking tape
foam brush
Step 1:
Put the ballet shoe on and use the tape to mark where you want the edge of your sole to be.
Step 2:
Paint the plastidip onto the soles of the shoe. Wait until it dries between coats. I ended up putting about 5 coats on. Try to get it as even as you can.

Step 3:
Wait until the sole is completely dry and has had time to "cure" which is approximately 4 hours. Try on your new shoes!
I didn't like the placement of the elastic on the original shoes so I cut it off and resewed it on straight across the top of my foot.

Here is a side view.

Another option would be to purchase some Vibram sole material and glue that to the bottom of the shoe. I might try that next if if the sole starts to wear out. I've read posts of barefoot runners using the Plastidip on the bottom of socks and of other people using it for the bottom of those soft baby shoes. It seems to hold up pretty well and still allows you to feel the ground for proper foot placement when running.

I'm so excited for how they turned out. They are super comfy and feel like slippers but with the new rubber sole, I can wear them out and about and most importantly to chase kindergartners all day. I think that they would work well for yoga too. We'll see!

P.S. If you've never heard of barefoot running and are wondering what I'm talking about, here is a link to some info about the benefits. http://www.webmd.com/fitness-exercise/news/20100127/barefoot-running-laced-with-health-benefits

Wednesday, July 6, 2011

Diaper Bag set with tutorials

I made this for my daughter when she was a baby and I thought I would share all of the tutorials that I used to make this just in case anyone else was interested. I made a lined diaper tote with 4 inside pockets, and one outside pocket. I made a matching wetbag with attachments to hang off the back of the diaper bag. I made a lined accessories pouch, a matching changing pad, and a snack pouch, similar to the snack sack. Here are the pics!

Full set:

Side view with wetbag attached:

View of the d-rings I used to attach wetbag:


An inside view of the bag showing pockets:

Here are the tutorials I used:

Diaper bag: Easiest Diaper Bag Ever I made the bag slightly bigger for cloth diapers. I also added the front pocket between the sewn on straps and the d-rings for the wetbag. Dimensions: The finished rectangle for the bag is 29" long by 19" wide. The pocket piece measures 18 1/2" x 14". The channel for the bottom of the bag is 5" wide in the center of the pocket panel along the bottom of the bag. The straps are 48" long, 1 1/2" wide, and sewn 7 1/2 inches apart (inside measurement) on each side of the bag. These are all finished measurements so be sure to add seam allowance. Here's a layout diagram I put together, ignore the lines at the top of the handles. It's not to scale but shows the measurements I'm talking about above.

Changing Pad:

I made the changing pad with the print fabric, a layer of fleece, and a bottom layer of pul. I sewed a big rectangle, turned inside out and top stitched. It's not perfect but works fine.

Wetbag and accessories pouch: http://www.twelve22.org/2006/07/zipper_tutorial.html

I made the wetbag with cotton fabric outer and pul lining. I made it bigger than the tutorial bag, of course! I also used this to make a lined accessories pouch which I use for bib, spoons, etc. Could also be made with pul lining for wipes bag.

Snack pouch: http://sew-ing.com/make/pouch.html

I made this exactly as stated but did a single cord with a plastic cord lock for closure and didn't add the fabric covered plastic pad because I planned on using a stainless steel bowl in there anyway.

Buckle side:

Other side:

Standing up:

Inside view (excuse the crumbs):